Short Bread

Short Bread

Saturday, December 28, 2013

Russian Tea Balls

Whether you call them Russian Tea Balls or Snow Balls, they are delicious and are my favorite cookie to make for the holiday season. They just taste so good and are festive; they'll be one I make for years to come. The recipe I use is from my grandma. 

Russian Tea Balls

Mix together:
1 cup soften butter
1/2 cup sifted confectioners powdered sugar
1 tsp vanilla

Sift together and then stir in with butter mixture:
2 1/4 cup flour
1/4 tsp salt

Mix in:
3/4 cup finely chopped walnuts

Shape into a loaf and chill for 3-4 hrs or overnight. 
Preheat oven to 400 degrees. Roll into 1 inch balls. Bake on non-greased sheet until firm but not brown for about 10 - 12 minutes. While still warm roll in confections sugar. Cool and roll in the confectioners sugar again. Devour!!!


Monday, December 2, 2013

Thanksgiving and I brought the Salad

For the past few holidays, I have offered to bring the salad. Some might think this to be a boring choice, and if I went with the typical Caesar Salad, it just might be. But, I welcome the challenge of discovering new and delicious ways to throw a bunch of healthy veggies together. Over the years of making my own lunches, I've tried and been pretty successful at finding ways to make a salad interesting, fun, and exciting to eat. For this one, I used a recipe I found on Pinterest called Summer Veggie Slaw. After dinner my cousin asked, "What were the green leaves in there?" I responded, "Spinach!" She said she didn't think she even liked spinach and maybe I had helped to change her mind on that. 

Below are the vegetables I put in the salad. It's easy to mix it up, use what you have at home, or perhaps buy a new vegetable from the store that you might want to try. For many of the veggies, I simply use a potato peeler so they create long ribbons instead of chopping them. For some reason, this makes the salad new and exciting to eat. 

  • Yellow squash
  • Green zucchini
  • Red pepper strips
  • Carrots
  • Radish, sliced and cut into strips
  • Green onions finely chopped
  • Very fresh shucked corn or precooked (I used frozen sweet corn)
  • Torn spinach leaves
  • Served with Caesar dressing

Sunday, November 10, 2013

A Bit More Pumpkin


Pumpkin Gingerbread Biscotti

I made these biscottis a few weeks ago to bring with to a game night we had planned with my cousin and her boyfriend. They tasted good but were a little hard. I realize biscotti are supposed to be hard, but I don't want anyone loosing a tooth! Below is the recipe with the altered baking time. Enjoy!


Ingredients
·         1 large egg
·         1/2 cup sugar
·         1/2 teaspoon baking powder
·         1/4 cup pumpkin puree
·         1/2 teaspoon cinnamon
·         1/4 teaspoon nutmeg
·         1/8 teaspoon freshly grated ginger
·         1/8 teaspoon ground cloves
·         1/8 teaspoon salt
·         1/2 teaspoon vanilla
·         1 1/4 cups flour
·         4 ounces real white chocolate, chopped, or white candy melts
·         3 tablespoons chopped walnuts
Directions
1.      Preheat the oven to 350.
2.      Whisk together the egg, sugar and baking powder on medium-high speed until the mixture falls in ribbons when the wisk is lifted. Next, add in the pumpkin puree, cinnamon, nutmeg, ginger, cloves, salt and vanilla and whisk the ingredients together.
3.      Carefully fold in the flour. The dough will be very dry.
4.      Shape the dough into a flat log about 3″ wide by 8″ long.
5.      Bake the flat log for 40 minutes, or until a toothpick inserted comes out clean. Remove from the oven and lower the temperature to 300 degrees.
6.      Let the dough cool down for 15 minutes before cutting into 1/2 inch slices. Put the slices on the baking sheet and bake for another 14 minutes, turning them over half way through.
7.      Let cool completely.
8.      Melt the white chocolate and dip half of the biscotti into it. Sprinkle the walnuts on top. Lay them on wax paper until the white chocolate hardens and then serve.


Saturday, October 19, 2013

Everything's Coming Up Pumpkin!!!

It's smack in the middle of October. Our Indian Summer is gone for good. The other morning when walking to my car, I swear the air smelled different, like winter is just on the horizon. I'm sad to see the warm weather leave us, but am excited for cozy sweaters, comfy socks and warm boots...oh and I'm very excited for more hearty and warm meals. This includes desserts. I've decided this months sweet treats will all include some pumpkin in them. Pumpkin seems to be everywhere I look these days so I figured why not create my own little challenge and include it in my blog? I made some Pumpkin Rice Krispie Treats last week. They were delicious; I have posted the recipe below. So quick and yummy!!

Last weekend, my husband and I went to pick out our pumpkins which we plan to carve this week. Below are some of the photos I took (pretending to be a professional photographer) :) Pretty good if I do say so myself. 


Pumpkin Rice Krispie Treats

3-4 tbsp butter
4-5 cups marshmallows
1/2 tsp pumpkin spice
1/4 cup pureed pumpkin
6 cups rice krispies cereal 

Melt the butter in a large pan. Once melted add in the marshmallows. (I add a little more butter and marshmallow to make sure the treats are ooey gooey and do not get hard). Stir the marshmallows until completely melted. Add the pumpkin spice and the pureed pumpkin to the melted marshmallows. Once all these ingredients are combined, add in the rice krispies. Stir until all are coated and then transfer to a tin or baking dish that has been lightly greased. Press the krispies down, let cool and enjoy!

Sunday, October 6, 2013

Pumpkins in Fall

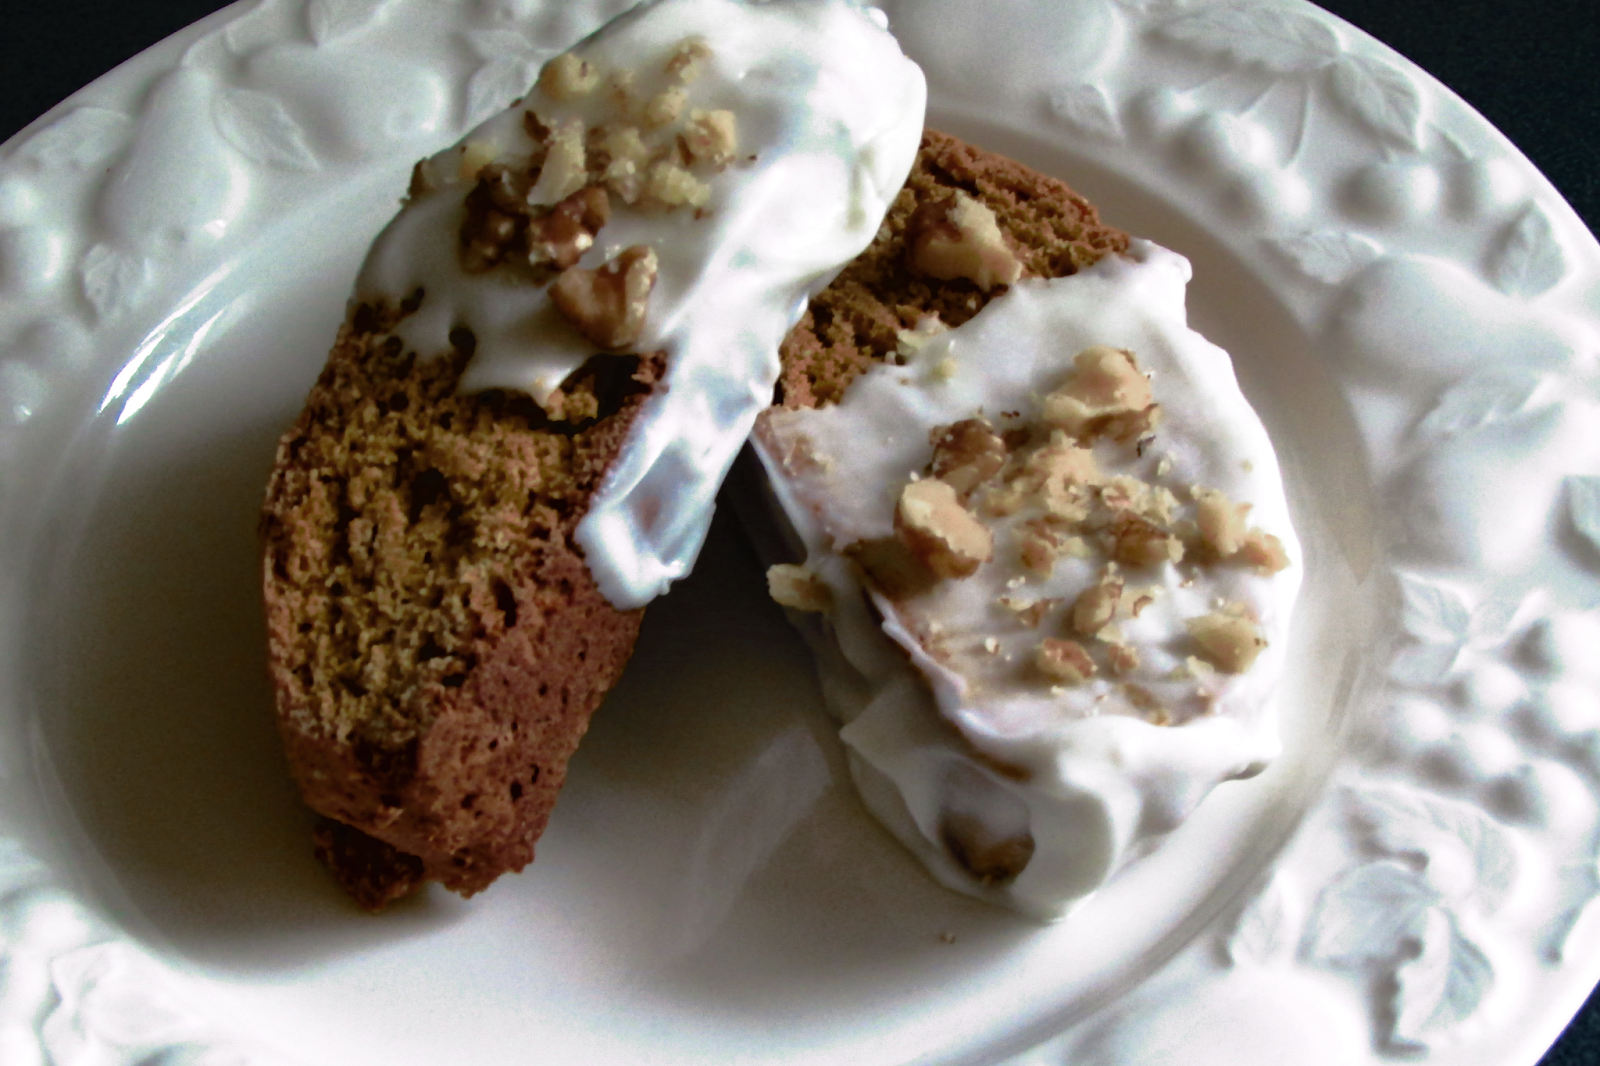
Pumpkin and  Brown Sugar Glaze Coffee Cake

I had Friday off of work this week. So, I did some chores, ran some errands, and made this fabulous Pumpkin Coffee Cake with Brown Sugar Glaze. It was so tasty I had to share. When my husband got home later that evening I told him that we can’t eat the whole thing; we should both take some of it to work on Monday. Well, it’s Sunday and the cake is practically all gone. There won’t be any left to take to work on Monday. That is how tasty it is.

With it being October, fall is definitely in the air. The leaves are finally starting to change colors, there is a crisp feel to the air in the morning, and pumpkins are showing up everywhere! In our lattes, our beer, on doorsteps; but I love the whimsical look they give a home and let’s face it, pumpkin flavor is so delicious. Perhaps Coffee And could have an “All Things Pumpkin” week. I guess that’s some food for thought.


1/3 cup water
1(15oz) can pureed pumpkin
2 whole eggs
1 tablespoon vanilla extract
½ teaspoon cinnamon
½ teaspoon nutmeg
1 box yellow cake mix
1 teaspoon baking soda
½ cup sugar, divided
1 cup brown sugar, divided
1/2 cups flour
4 tablespoons melted butter
1 teaspoon vanilla extract
¼ cup heavy whipping cream

Preheat the oven to 350F degrees. In a large bowl, mix together water, pumpkin, eggs, 1 tablespoon of vanilla, cinnamon and nutmeg until well combined. Add the cake mix, baking soda and ¼ cup of sugar.  Grease a 9x13 pan with butter and pour the batter into the pan.

In a small bowl, mix together ½ cup of brown sugar, ½ cup of flour and melted butter. Sprinkle the sugary mixture over the top of the cake. Bake the cake for about 30 minutes.

Combine ½ cup of brown sugar, ¼ cup of granulated sugar, 1 teaspoon and heavy whipping cream in a saucepan over low heat until all the sugar has dissolved.  After the cake is finished baking, remove from the oven and pour the sugar glaze over the top. Then, devour!

Sunday, September 22, 2013

Honeymoon - Wine Country Home

My husband and I found an adorable little home to rent for the week while we toured wine country. It was actually a watertower  on a working ranch that we found it on Airbnb. It worked out perfectly and was a great place for us to call home for the week. It was on the property of The Beltane Ranch which is also home to a cozy little bed and breakfast. The owners encouraged us to explore the ranch, which we did. The photos are below. It's such a romantic and calming place to stay for a new, young, married couple just starting out on a lifetime of adventures and exploring. We definitely have intentions or returning. 


Sunday, September 15, 2013

California Travels - Santa Cruz

Our honeymoon ended up being sort of a road trip within Northern California. We started in San Francisco for a few days and then drove down to Carmel, CA. On our way down to Carmel, we stopped in Santa Cruz. I am so glad we did because it has a wonderful boardwalk amusement park. It's right on the beach, so you could be laying out and if you or kids (that are old enough) wanted to go ride some rides, that could be done. You could go in and out of the park as you pleased. If you want to ride unlimited amount of times, you get a wrist band for just under $40. Not too shabby. Below are some pictures I took of the area and amusement park. The colors were so bright and fun that I felt like I was a kid again with excitement to ride some rides and eat some cotton candy! I really hope that we can go back and spend a few days here when we have kids!!!


Monday, September 9, 2013

Post Honeymoon - Loads of new ideas!

 
For our honeymoon my husband and I flew to San Francisco, rented a car and did our own little California road trip. We did a few nights in San Francisco, drove down to Carmel and Monterey where we stopped in Santa Cruz along the way (stunning), and stayed there for a few nights. Then we drove back up to Sonoma where we stayed for a week in wine country. It was wonderful and the food was one of my favorite parts! No doubt that I took multiple mental notes (and even wrote some down). Most of the food we had in wine country seemed so fresh! Like it was grown in a garden out back and hand picked that day so that it could be prepared for me that day. I felt like I was eating clean and it all tasted so delicious! As I have said before, if Coffee And were to be a reality and become a real café/bakery, I would hope that it could one day have a fresh fruit and vegetable garden of its very own. A place that can grow fresh produce and herbs for many of the recipes that might be made for the customers.
 
Below is example of what I was able to taste while in wine country. This was a lovely café that was in the Sonoma Square called The Sun Flower Café.  I had fruit, toast, and mascarpone cheese with some honey drizzled and sunflower seeds on top. What a tasty and refreshing way to wake your mouth up in the morning! It was delicious. I fully intend to create these on my own, possibly in miniature sizes. I think almost any other nut on top of this cheese and fruit combo would be delicious. I think the could even be great as an after dinner dessert. There are so many more pictures to come from our trip and ideas to go along with them. Time for me to get cookin'!


Thursday, August 8, 2013

I'm Back!!

I return to the world of blogging after taking about a month off; it wasn't intended but getting married sure will take up some time! And in a blink of an eye, I'm a Mrs. instead of a Miss. But, I couldn't be happier and the wedding was beautiful, so much fun, and everything I had hoped for. Pictures are trickling in, but I will post some here once I get some more. 

For this post, I made a copy-cat recipe. About a week before the wedding, my mom's oldest girlfriends (the ones she has known since she was twenty), hosted a luncheon for my mother and I where all the ladies and their daughters came. It was so great because the daughters haven't all seen each other in at least ten years. But, we laughed and chatted without skipping a beat. 

One of the dishes they made was so delicious and super simple. I've been making it this week for my lunches at work. Below are some photos and the recipe. Enjoy!


Ingredients
Fresh Mozzerella Balls
Sliced Nectarine or Peach 
Shredded Prosciutto
Chopped Parsley or Mint
Drizzle of EVOO
Pinch of Kosher Salt

Combine all ingredients together in a large bowl and enjoy! There are so many ways to alter this recipe. Today I am having it over lettuce with some balsamic dressing for lunch. You could probably add some berries or use cantaloupe instead of the nectarine or peach. But, it is so fresh, simple, and just delicious. 


Sunday, July 7, 2013

4th of July Hummingbird Cake(s)

The 4th of July always seems to present itself with the opportunity to indulge a little bit. We are granted a day off of work (some of us) to honor and remember how lucky we are to live in America and how hard many people have worked to arrive at this point. It has become a day to spend time with friends and family, enjoy a summer day with good food, a few drinks, and some fireworks. It's pretty simple, but is always a holiday I look forward to. 

This year I attempted a new dessert to bring to our 4th of July festivities. Hummingbird Cake. It turned out great! Below are some pictures and the recipe I followed from the Magnolia Bakery cookbook. Enjoy!


Cake
3 cups all-purpose flour
1 tsp cinnamon
1 tsp baking soda
1 tsp salt
1 ¼ cup vegetable oil
2 cups sugar
3 large eggs, at room temperature
2 tsp vanilla extract
2 cups very ripe bananas
1 (8 ounce) can crush pineapple in unsweetened juice, drained
½ chopped pecans
Garnish
Chopped pecans

Preheat oven to 325 degrees.
Grease and lightly flour baking dish. I used a large rectangle baking dish and then had some batter left over so made a few cupcakes which I might just continue to do in the future.
In a large bowl, combine the flour, cinnamon, the baking soda and the salt. Wisk or sift ingredients together. Set aside.
In another large bowl, combine the oil with sugar until smooth, about 3 minutes. Add the eggs one at a time and beat with an electric mixer until light, about 1 to 2 minutes. Add the vanilla. Add the pineapple and bananas. Add the dry ingredients in thirds. After all ingredients are combined and the batter is smooth, stir in the chopped pecans. Pour the batter in the baking dish and bake for 40-50 minutes. If using muffin tins, these should only take about 15-20 minutes. Let the cakes cool in the pan for about 10 minutes. Remove from pans and cool completely before topping with the icing. Garnish with chopped pecans.


Cream Cheese Icing
1 pound (two 8-ounce packages) cream cheese, softened and cut into pieces
6 tbsp unsalted butter, softened and cut into pieces
1 ½ tsp vanilla extract
5 cups confectioners’ sugar, sifted (or whisked)

In a large bowl, beat the cream cheese and butter until smooth with an electric mixer. Add the vanilla and mix well. Gradually add the sugar and beat continuously. Cover and refrigerate for 2 to 3 hours.


Monday, July 1, 2013

Bachelorette Weekend

This past weekend I had my bachelorette party. For years when I envisioned what I would do for this, I only ever saw my close group of girlfriends renting (or borrowing) a house on or near a lake for a weekend; eating, drinking, laughing and just having a marvelous time together. This is exactly what we did and it was a weekend I will never forget. I keep wanting to go back and do it all over again. If there’s one thing I’ve learned throughout my life from my mother it is the importance of girlfriends. Of course we all have our significant others who we love very much (if not yet, remain patient, it will happen), but there is something so extremely therapeutic about getting together with girlfriends who have known you for years. Girls who you can be silly with, lounge around in comfy’s with, vent about life with, etc.  It is something I hope to never take for granted and will always cherish.

As part of my contribution to the food for the bachelorette weekend, I made a favorite of mine. It’s a recipe I found from one of my favorite cooking blogs, Smitten Kitchen. Hope you enjoy it as much as I do.


Peach Shortbread Bars 
1 cup white sugar
1 teaspoon baking powder
2 ¾ cup all purpose flour
¼ teaspoon cinnamon
1/8 teaspoon ground nutmeg
¼ teaspoon salt
1 cup unsalted butter
1 large egg
2 peaches, pitted and thinly sliced

Preheat the oven to 375 f.

Use some butter to lightly coat the bottom of a 9x13 pan. Combine the sugar, baking powder, flour, cinnamon, nutmeg and salt in a medium sized bowl. Wisk together so it’s mixed together. In a separate bowl, mix the butter and egg together until it’s creamed. Add in the flour mixture, using a mixer to combine until it is crumbly. Use about half the crumbly flour mixture to coat the bottom of the baking dish. Press it down into the pan; save the remainder of the flour mixture for the top. Add the sliced peaches and scatter the remaining flour mixture on top. Bake for approximately 40 minutes or until it slightly browns. Let cool and enjoy.